The Ultimate Guide: How to Floss with a Crown Safely and Effectively
At Mai Dentistry, we understand that getting a dental crown is an investment in your oral health, your confidence, and your beautiful smile. Whether you have just received a brand-new crown or you have had one for years, you might find yourself wondering about the best ways to care for it. One of the most common questions our patients ask us is about flossing with a crown.
It is a completely natural concern! When you have a restorative piece placed over your natural tooth, the last thing you want to do is accidentally dislodge it or damage the surrounding gum tissue. We treat you like part of the family, which means we want to ensure you have all the knowledge and tools you need to feel comfortable and confident in your at-home dental care routine.
Today, we are going to walk you through exactly how to floss with a crown. By following this simple, gentle, and highly effective step-by-step guide, you can maintain optimal oral hygiene, protect your investment, and keep your smile shining bright for years to come.
Why Flossing with a Crown is Essential for Your Health
Before we dive into the steps, let’s talk about why flossing is so incredibly important, especially when you have a dental restoration.
A dental crown acts as a protective cap, completely covering a damaged or decayed tooth to restore its shape, size, strength, and beautiful appearance. Because it is securely bonded in place, the crown itself cannot get a cavity. However, the natural tooth structure underneath the crown—and the gumline surrounding it—are still vulnerable to plaque, tartar, and harmful bacteria.
If plaque is allowed to accumulate at the base of your crown, it can lead to decay at the margin (where the crown meets the natural tooth) or cause periodontal (gum) disease. Gum disease can cause the tissue to recede, exposing the root of the tooth and potentially compromising the foundation of your crown.
Regular flossing removes the hidden plaque and food particles that your toothbrush simply cannot reach. By mastering how to floss with a crown, you are actively preventing decay, avoiding bad breath, and ensuring that the foundation of your beautiful smile remains strong and healthy.
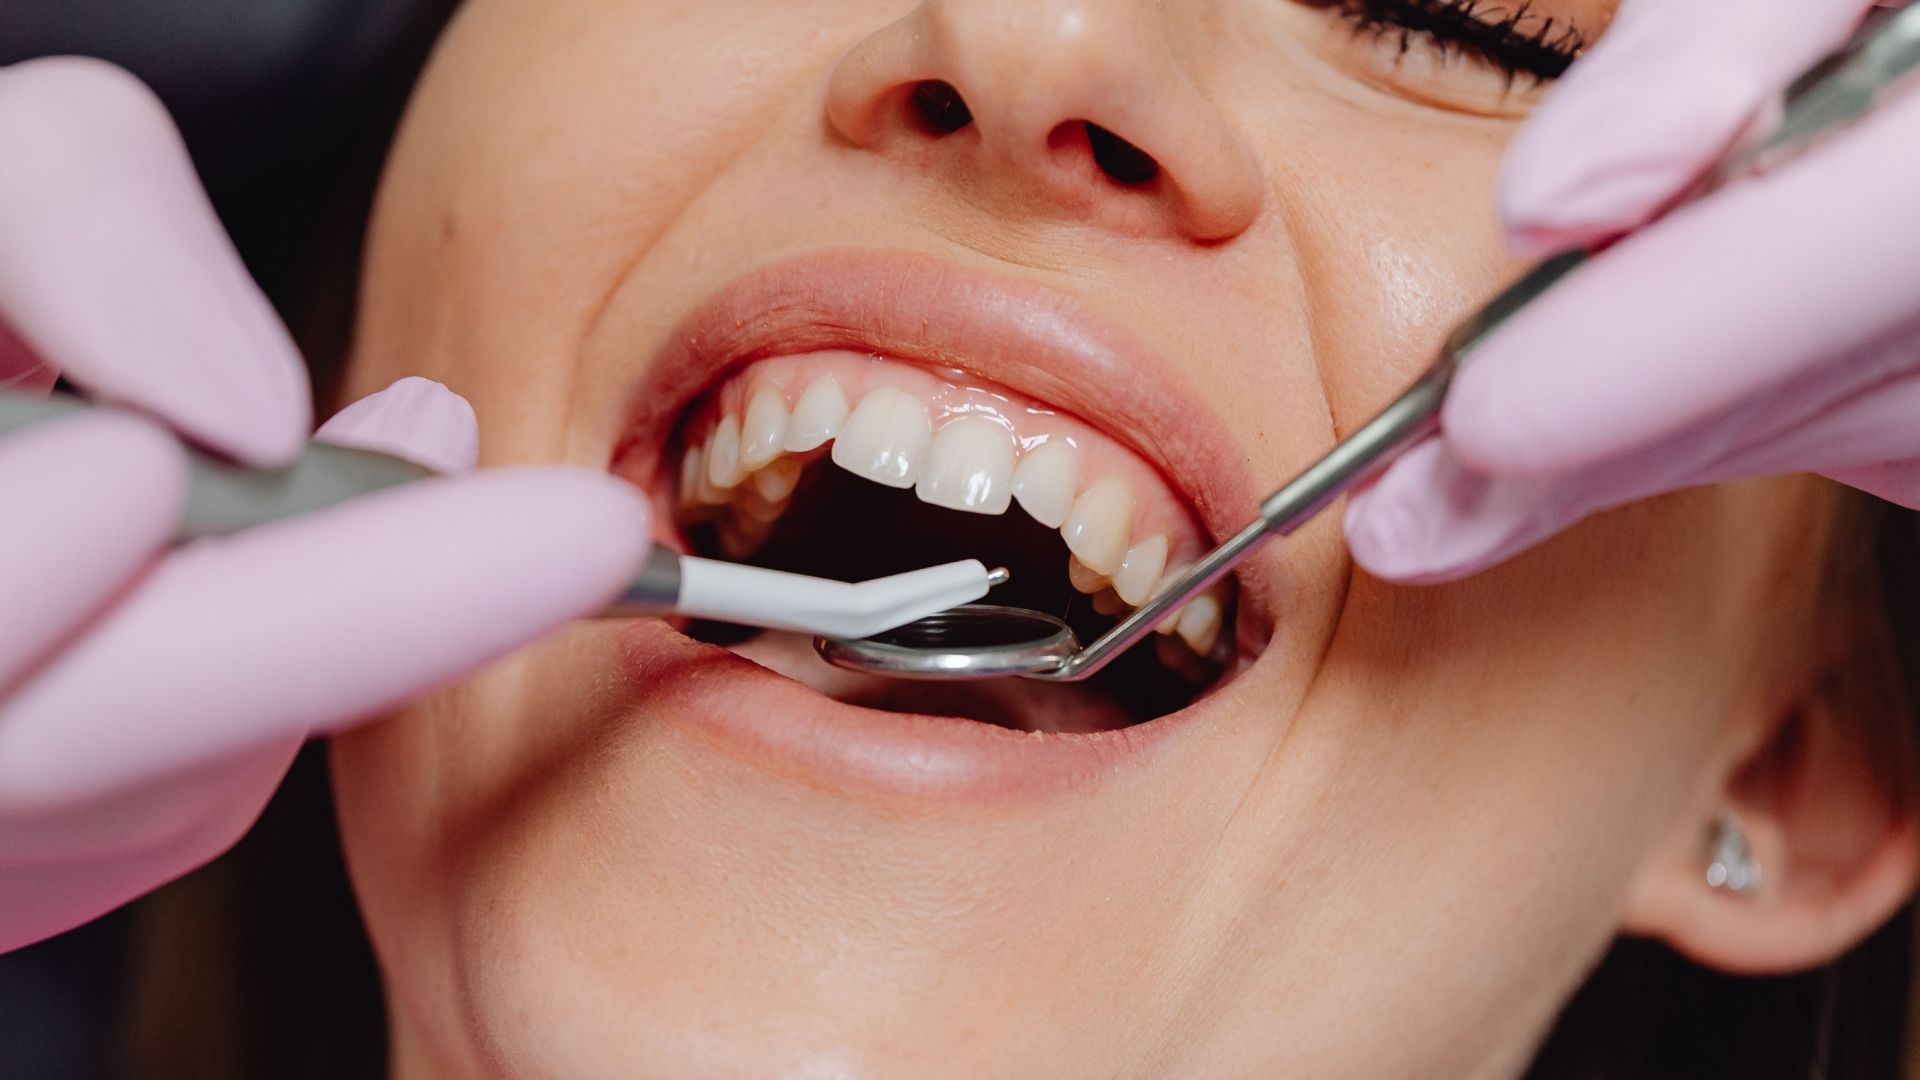
The Right Tools for a Beautiful Smile
Patient comfort always comes first at Mai Dentistry. Part of ensuring your comfort during your daily hygiene routine is selecting the right tools. When it comes to flossing with a crown, not all floss is created equal.
We generally recommend using a smooth, waxed floss or dental tape. Unwaxed floss can sometimes catch on the microscopic edges of a restoration or shred between tight teeth, which can be frustrating and uncomfortable. Waxed floss glides much more effortlessly, minimizing friction and reducing the risk of pulling on your dental work.
If you find traditional flossing difficult due to dexterity issues, or if you simply want to elevate your home care with state-of-the-art technology, a water flosser can be an excellent supplementary tool. However, traditional string floss remains the gold standard for physically wiping away sticky plaque.
Step-by-Step Guide: How to Floss with a Crown
Now, let’s get to the technique. Don’t worry—caring for your crown is much easier than you might think. With a little practice and a gentle touch, this routine will become second nature.
Here are the expert-approved steps for flossing with a crown:
Step 1: Cut the Floss
Preparation is key to a comfortable flossing experience. Start by dispensing the right amount of floss. You want to use about 14 to 18 inches of floss. While this might seem like a lot, it ensures you have enough clean sections to use throughout your mouth.
Wrap most of the floss around your middle fingers. This anchors the string securely. Leave about 1 to 2 inches of floss stretched taut between your thumbs and index fingers. This short segment is the part you will use to work with, giving you maximum control and precision.
Step 2: Gently Slide the Floss Between Teeth
With your floss pulled tight, carefully guide the floss down between your crown and the neighboring tooth.
Crucial tip: DON’T snap it down! Forcing or snapping the floss through the contact point can severely irritate, bruise, or even cut the delicate gum tissue. Instead, use a gentle, controlled back-and-forth sawing motion to ease the floss past the tight contact point between the teeth.
Step 3: Wrap the Floss into a “C” Shape
Once the floss has passed the contact point and is resting comfortably in the space between your teeth, it is time to focus on technique. Curve the floss around the side of the crown so it forms a “C” shape, tightly hugging the contours of the tooth. This shape allows the floss to cover maximum surface area, sweeping away plaque efficiently.
Step 4: Clean Under the Gumline
This is where the magic happens. Gently slide the floss slightly below the gumline. You should feel a slight resistance, but it should never be painful.
Once positioned, move the floss up and down along the side of the crown several times. This targeted movement wipes away the hidden bacteria that cause decay and inflammation. Remember, your goal is to clean the side of the tooth, not to saw back and forth into your gums.
Step 5: Repeat on the Other Side
The space you are currently in is shared by two teeth. Once you have thoroughly cleaned the side of your crown, shift the “C” shape to hug the neighboring tooth. Clean the side of the neighboring tooth in the exact same up-and-down manner.
Step 6: Remove the Floss Correctly (The Most Important Step!)
When it comes to flossing with a crown, how you remove the floss is just as important as how you insert it.
Normally, you might pull floss straight back up through the top of your teeth. Do not do this with a crown. Pulling the floss straight up creates a vertical force that, over time, can catch on the margin of the crown and pull it loose.
Instead, let go of the floss with one hand and slide the floss out sideways, pulling it smoothly through the gap. This horizontal exit technique ensures zero upward pressure is placed on your dental restoration, keeping it perfectly secure.
Step 7: Repeat Daily
Consistency is the foundation of good oral health. You should be flossing around your crown—and all your other teeth—at least once a day. Incorporating this into your nighttime routine ensures that you go to sleep with a clean mouth, preventing bacteria from multiplying overnight.
Common Mistakes to Avoid
Even with the best intentions, it’s easy to fall into bad habits. To ensure your bespoke dental work lasts as long as possible, avoid these common pitfalls:
-
Rushing: Take your time. Precision and gentleness are far more effective than speed.
-
Using the Same Section of Floss: As you move from tooth to tooth, unroll a fresh section of floss from your fingers. Reusing the same one-inch section just moves bacteria from one part of your mouth to another.
-
Ignoring Bleeding Gums: If your gums bleed when you floss, it is usually a sign of early gum inflammation (gingivitis), not a sign that you should stop flossing. Continue your gentle, daily routine, and the bleeding should subside within a week or two.
We Are Here to Support Your Smile
At Mai Dentistry, our professionals put your comfort first. We provide personalized care supported by advanced science, and we want you to feel completely empowered in your at-home dental routine.
If you ever feel your floss catching consistently on a specific spot around your crown, or if you experience any pain or continuous bleeding, please reach out to us. It may simply mean the crown needs a minor smoothing adjustment, and our compassionate team is always here to help.
Frequently Asked Questions (FAQs)
Can flossing pull off a crown? If done incorrectly, yes. Pulling floss straight up through the tight contact between teeth can create an upward force that may loosen the crown over time. That is why it is critical to always slide the floss out sideways when removing it from around a crown.
How soon can I floss after getting a new crown? If you have a temporary crown, you must be extremely gentle and always pull the floss out sideways. If you have just received your permanent crown, your dentist will give you specific instructions. Generally, you can resume normal flossing immediately, but you should adhere strictly to the sideways-pull method to allow the permanent cement to fully set.
Is a water flosser safe to use on dental crowns? Absolutely! Water flossers are an excellent, state-of-the-art tool for cleaning around dental work. They use a gentle, pulsating stream of water to flush out food and plaque around the gumline. However, we recommend using them in addition to traditional string flossing, not as a complete replacement.
Why does my floss keep shredding around my crown? If your floss is consistently shredding or getting stuck, it could indicate that the margin of the crown (where it meets the tooth) is not perfectly smooth, or that there is a build-up of hardened tartar. Switch to a waxed floss or dental tape first. If the problem persists, schedule an appointment with us so we can take a look and ensure everything is fitting perfectly.
Are you due for your next dental cleaning, or do you have questions about your restorative dentistry? At Mai Dentistry, we treat you like family. Contact us today to set an appointment at our St. Petersburg, Land O’ Lakes, or Hudson offices. We are committed to giving you the beautiful smile you’ve always wanted!